Requirements
A server and domain that supports PHP & MySQL, or if you’re testing on your own computer, a local web server environment like XAMPP.
How to Install the Free PHP Photo/Image Upload Script (Step-by-Step with Images)
In this guide, we’ll demonstrate the installation on a local machine using XAMPP. You can download and install XAMPP from its official website by searching for it on Google.
Step 1: Download the Free PHP Photo/Image Upload Script
First, download the script using the link below. If you have a domain and hosting, upload all the files inside the downloaded .rar file to your website’s root directory using a control panel like cPanel or Plesk.
Extract the .rar file, go into the extracted folder, and upload all contents to your site directory.
Step 2: Create a MySQL Database


If you have a hosting account, create a new MySQL database via your hosting control panel.
If you’re using a local environment like XAMPP, open phpMyAdmin and create a new database.
Step 3: Create a Database User


While your database is selected, create a new database user and grant all privileges. Make sure the correct database is selected during user creation.
Step 4: Import the Database Tables

Locate the fotoupload.sql file in the root directory of the script you downloaded. Extract this file to your desktop or somewhere easily accessible.
Go to phpMyAdmin, select your newly created database, then use the Import tab at the top. Choose the fotoupload.sql file and click to import it into your database.
Step 5: Configure the Database Connection

Open the database.php file located in the config folder using a code editor like Sublime Text or even Notepad.
Update the database settings (host, username, password, database name) according to your setup.
After saving the file, upload it back to the config folder on your server, replacing the old version.
If you’re using XAMPP or a similar local server, just edit the file directly in the project directory.
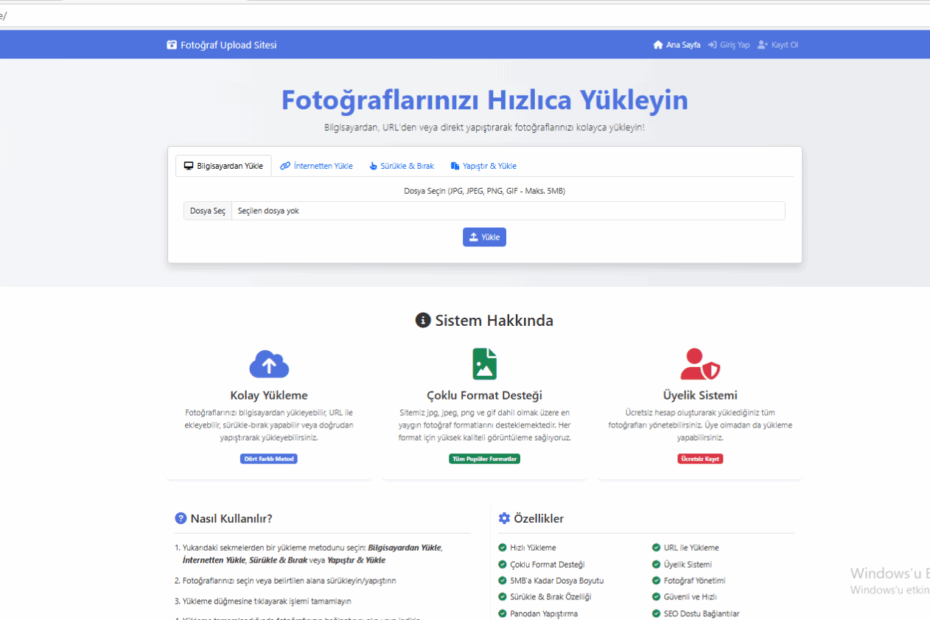
Step 6: You’re Ready to Use the Script!
If you installed the script on localhost, open your browser and visit:http://localhost/site (replace “site” with your folder name).
If you installed it on a live server, simply go to your domain name.
Admin Panel Access

Access the admin panel by navigating to:yourdomain.com/admin
(Example: eyse.tr/admin if installed in the root)
- Username:
admin - Password:
18811938
Download the Free PHP Photo/Image Upload Script
If you have any questions or run into issues, feel free to leave a comment under the original post. I’ll help as much as I can!